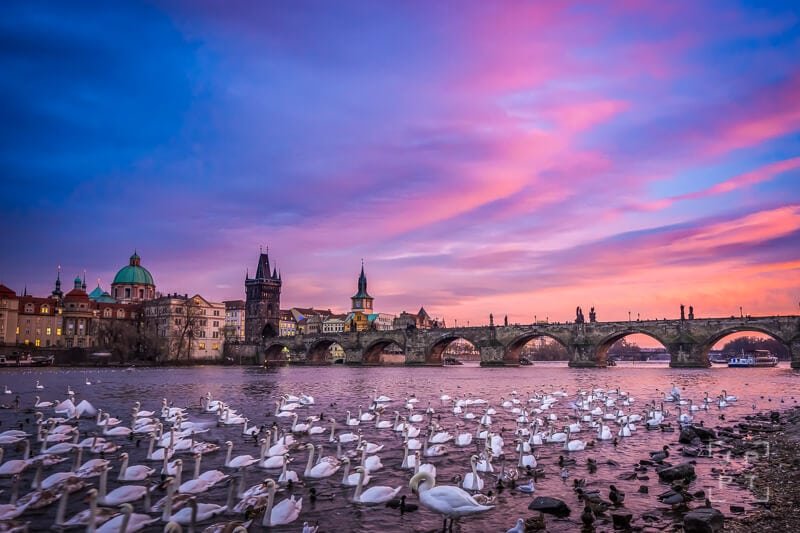
Travel photography comes in different forms. Sometimes you find yourself hiking high up in the mountains, another time you’re diving in a sea followed by curious underwater creatures and sometimes you just visit a beautiful historical city like Prague for a couple of days. These scenarios vary when it comes to photography gear that you should take with you. In this article, I will give you tips on what photography equipment to take on a trip to a city and our photo tour.
What are the specifics of city trips? For example, it’s:
- To the streets, you only take what you need for that day. You don’t have to carry everything with you all the time.
- Easy access to electricity.
- Higher risk of getting your camera stolen.
And the implications follow:
- You can take more gear than on a hiking trip.
- You don’t have to take that many extra batteries.
- You should pay more attention to protect your gear.
Must-have photography equipment
When you go to shoot in a city, I believe you should have:
- Camera with a wide-angle lens. You don’t need a bulky DSLR. My pick would be a mirrorless camera with interchangeable lenses as they are smaller and have excellent image quality. In terms of lenses, generally, you will get by with a wide-angle or a medium zoom range like 24-70 mm (equivalent to 35 mm). For less passionate shooters, point and shoot cameras will do. If you travel really light, your iPhone will do the trick too. I always say that you can take interesting pictures even with your phone and vice versa – that an expensive camera doesn’t produce stunning images for you unless you know what you’re doing.
- Memory cards. You need a medium to store your pictures. Format the memory card in your camera before using it. This way you minimize the odds of card failure. It’s better to have more 16-32 GB cards than one with 64 or even 128 GB. If your card fails or your camera gets stolen, you lose just a fraction of your images, not all of them. Always keep one extra card with free space on you.
- Extra battery. There’s nothing worse than getting to a perfect location when the light is nice and soft, finding out that your battery is dead and you have that extra one in your room. I’ve been there too, it’s frustrating. Always make sure, that your extra battery is fully charged and take it with you.
- Cleaning tools. Shoot with your lens clean. Always keep a cloth on you in case dirt gets on your front element. I also use an air-blower and lens pen to assure that there’s nothing on my lens. When you’re shooting with the aperture wide open (like f/2.8), you would barely notice. But once you use f/11 and higher, trust me, you will notice the dirty spots on your lens immediately.
Serious photographers should also take…
In the previous paragraph, I mentioned must-have pieces of photography gear I’d recommend anyone for shooting in a city. If you are a more serious photographer and you aim higher, there are other things you might want to consider to take.
- A sturdy full-sized tripod. It’s a must-have if you like to shoot during sunrise or sunset times of the day or at night. It gives your camera stability that yields sharp images. If you don’t have a tripod with you, rent it from us. Forget tiny plastic table-top tripods, they are useless.
- Telephoto lens. Why would you shoot a city just with a wide-angle lens? Telephoto lenses (eg. 70-200 mm) broadens your photography opportunities and allows you, for instance, to shoot details on buildings, to focus on interesting parts of the skyline, or to do portraiture with shallower depth of field.
- Proper wide-angle lens. In the previous section, I have already mentioned a wide-angle lens yet here, I want to emphasize that your wide-angle lens should be even wider than 24 mm (equivalent to 35 mm). If you shoot with a full-frame camera, get 16-35 mm or similar. If you shoot with a smaller sensor like APS-C, then 10-20 mm would be a good choice.
- Fast prime lens. Typically something like 50 mm f/1.8. It’s great for street photography as it’s usually very small and unobtrusive. Fast aperture allows to you separate the foreground and it can be used to shoot details on smaller subjects or portraits. On our photo tour, we won’t really need it though.
- Polarizer (C-Pol). It enhances contrast and reduces reflections.
- Neutral density (ND) filters. They unfold new creative opportunities for you (like the smooth silky water looks). ND filters are produced with different intensity levels. I recommend having 10-stop and 6-stop filters. If you pick a 10-stop ND filter, you can actually achieve let’s say 30-second long exposures during the day.
- Graduated ND filters. These are useful to balance the exposure in a single shot without needing to blend in multiple exposures. For example, the darker part of the grad ND filter darkens the sky and you get balanced exposure of the foreground and the brighter sky.
- Cable release. You will need it for exposures longer than 30 seconds. Nowadays, some cameras can be set to shoot for a minute or two but most of them still cannot on their own.
That looks like a lot of gear, right? Bring things listed above on our photo tour but listen carefully now. Don’t take everything every single time you will go out and shoot. Not only it would weigh you down, but you could become a potential target of thieves (not really an issue in Prague though, don’t worry).
Pro-tip to boost your creativity: Create deliberate restrictions for yourself when shooting – meaning that you go out with just one lens instead of three and you’ll try to make the best out of it. The next day, take another lens. You will be more creative this way. Give it a try!